
For the past 5-6 years, my goto Photo Editor for a number of tasks has not been Adobe PhotoShop or Corel Paintshop Pro, but rather Photoscape – especially for quick batch color corrections and photo display tasks like creating collages or animated GIF. In effect, Photoscape became the Swiss Army Knife for rapid photo edits. Here are two fast examples:
GIF Animations using old Photoscape
GIF Animations have always been a plague for designers and developers because the classic tools were exactly that – too often reflecting their distant Application Heritage with slow transitions, unexpected results, and big file sizes. Until Photoscape.
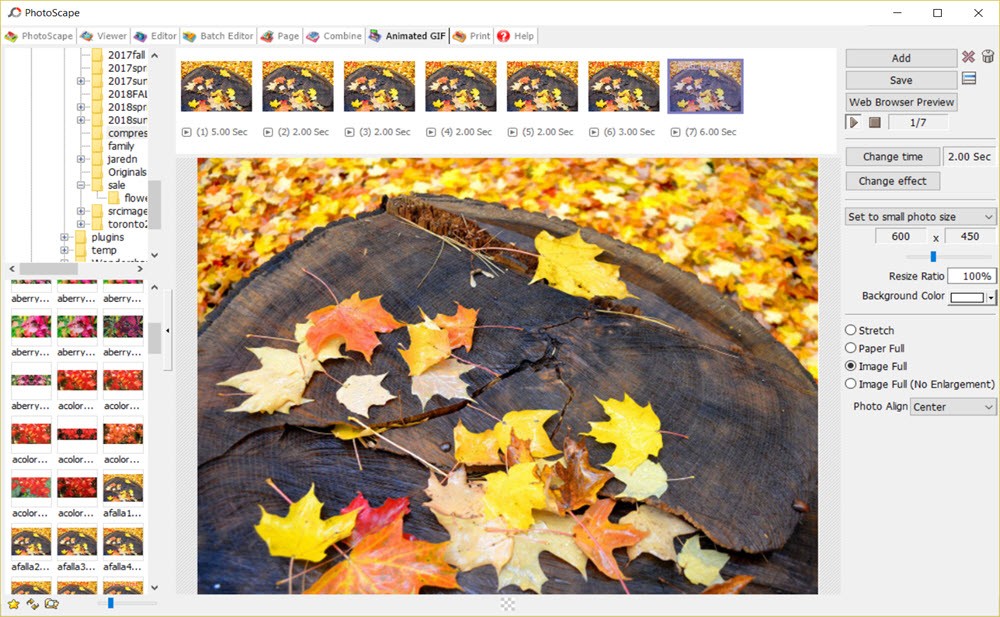
Photoscape made GIF animations easy because the transitions [see Change Effects button] were simple but also worked. Each image could easily have its duration changed [see Change Time button].
But most helpful was the ability to drag and drop images from the viewer directory onto the animation.

And not only was it easy to drag, drop and reorder images in the animation, but also you could use any jpg, png, or gif file in the same animation – mix and match with no problems. And if the images differed in dimensions, Photoscape offered some added help – the Stretch, Paper Full, Image Full and Image Full with no-enlargement options which could delay having to resize any non-conforming images in Photoscape’s Editor.
Finally the saved GIF Animation output could also be controlled.This is important because GIF Animations quickly balloon in size. So Photoscape provided a series of resizing options.
The problem with resizing is you have to give up overall image dimensions to get enough savings in the image size. So rule of the animation road – compress those image files using Riot or some other image compression utility before you add the image to the animation.
Creating Collages using old Photoscape
Canva and Pixlr are two online design tools that do collages – but again, Photoscape has allowed users to create a collage locally:
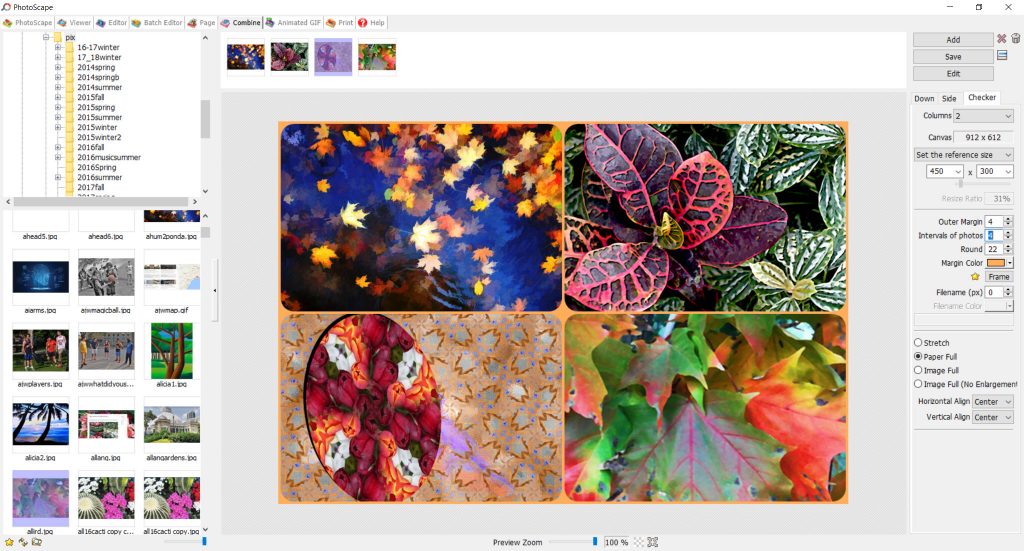
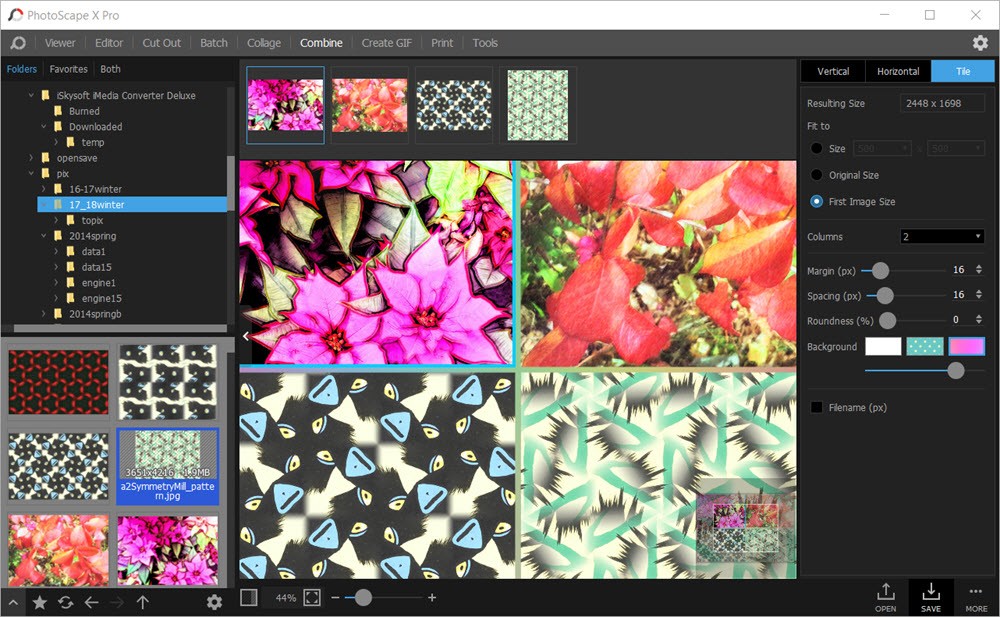
Actually Photoscape has two collage creation tools. The Combine option creates a tabular or fixed grid layout where each image in the grid is the same size as seen in the screenshot.
The second option is called Page by Photoscape and is closer to a true collage design with over two dozen templates of 2, 3,or more images fit together in a frame.
In the screenshot, a Combine grid is being created with an orange background and rounded corners. It is also possible to resize the grid from 180 x 120 to 9600 x 6400 – a very wide resize ratio.
In short, Photoscape has been very helpful in creating images for a wide array of web applications. But despite the utility there were two things wrong with Photoscape. First, there was no easy way to pay for it as the software has been free for many years. Second, Photoscape was used so often, this reviewer had created a sizable list of “tiny fixes” for photoscape starting with making the viewer thumbnails appear faster and in a user customized sizes. Well, Photoscape developers more than matched this list of tiny fixes and called its upgrade Photoscape X
PhotoScape X
Here is what the new Photoscape looks like in action with both Viewer and Editor in use:
Right from the outset, Photoscape X makes the Viewer customizable with the width of the thumbnails variable and the overall width of the Viewer is also adjustable. Just click on the blue and white handle to collapse the Viewer side of the screen and make the Editor full screen. Or drag the blue and white handle to make the Viewer area wider or more shallow. This is a huge improvement over the classic Photoscape which had thumbnails with a tight maximum width. This GUI innovation only hints at the photo editing features of the new Photoscape X.
Easy Access to Edit Features
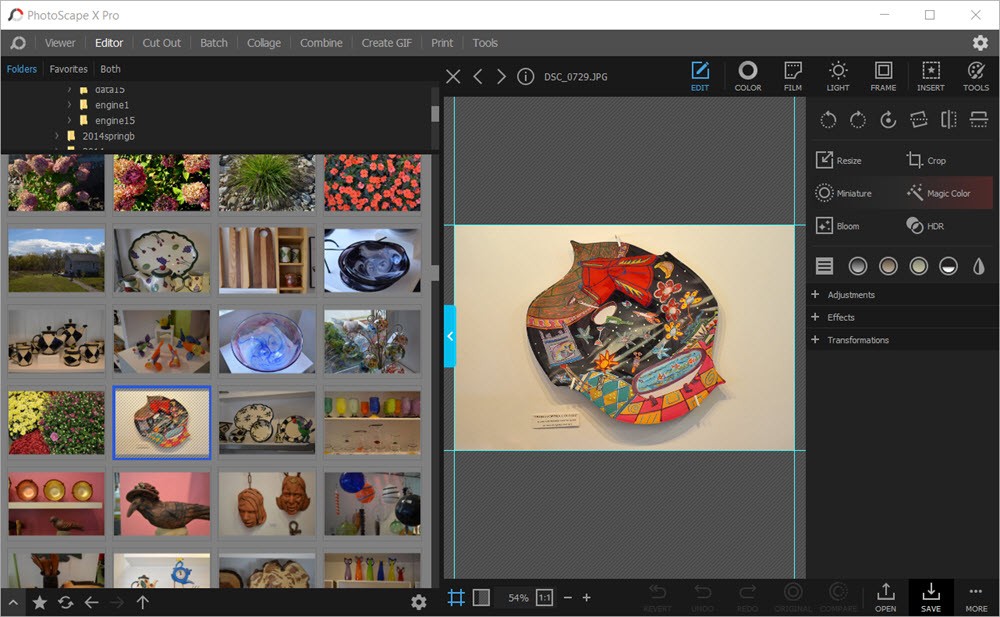
In Photoscape there were lots of edit features but spread everywhere; look at how the Editor is now organized:
Across the top row of the Editor are the 7 icons for the major edit features – Edit, Color, Film, Light, Frame, Insert and Tools. Click on major icon and the sidebar of options instantly changes to reveal the editing commands available. The Edit set of options is huge. For example clicking on +Adjustments in the Edit sidebar reveals 34 features from Curves to Soften Skin. Click on +Effects and 27 effects are shown. Click on +Transformations and 16 transformations are available to use immediately.
And here is where the kicker occurs – Photoscape X is so fast in displaying any and all of the Adjustments, Effects, and Transformations. For example, a 15MB, 8700 x 7500 image had an average response time of 4 seconds or less.on a Windows 10 16GB machine. For images 2MB or less in size the response time is instantaneous. But there is more. At the bottom of every option there is a Compare button which allows one to see quickly the before and after on any change with a click of the button. But there is more.
Masking Everywhere
All of the Edit | Adjustments, Edit | Effects, Color and Tools features have masking as part of the controls as seen here:
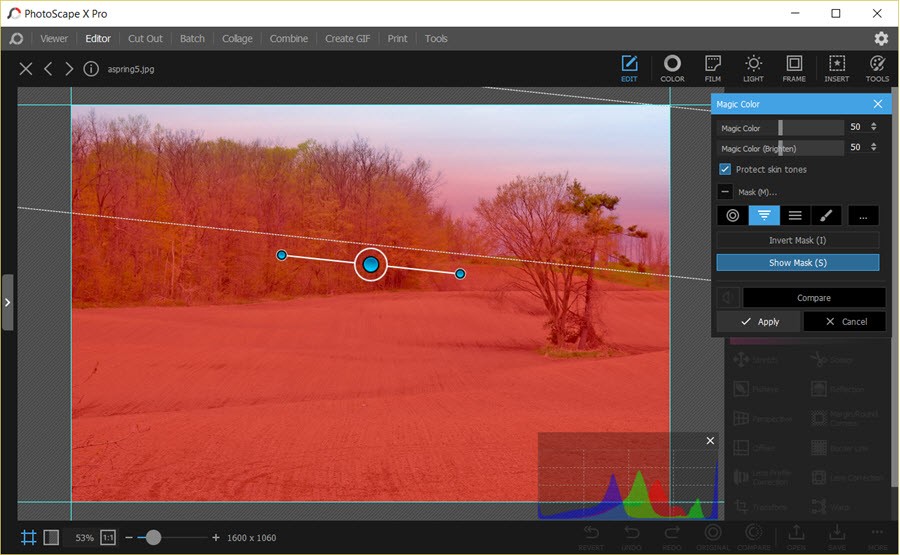
So Edt | Magic Color has masking as an option. And Photoscape X provide four masking methods: an expanding circle/ellipse, a horizontal mask that can be expanded and rotated, a horizontal mask that expands vertically, and a paintbrush of variable size and hardness to manually apply the mask. Finally there is a mask history where a previous mask can be copied and pasted.
As seen in the screenshot, there are two added masking controls – Show Mask which shows the mask as a red tint where the Magic Color will be applied and Invert Mask which inverts where the mask applies. This ability to have masking available in every Adjustment, Effect, and Color change really saves steps. The only missing piece is the ability to ease the resulting change to zero as in Photoshop.
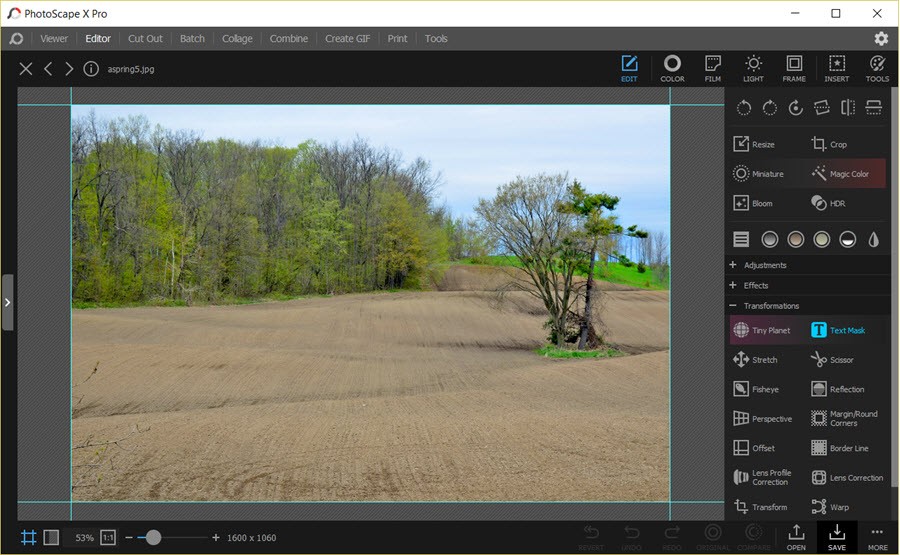
But the list of Masking and Cut Out options is very robust in Photoscape X. The following shows the innovative Text Mask feature:
Readers are encouraged to go to the PhotoScape X site and see more of the masking video tips such as CutOut Mask and Object Mask. In general this list of 60 video tips is a great resource for coming up to speed in the many features of Photoscape X.
Learning Photoscape X
Photoscape X proudly proclaims over 1000 adjustments and effects… and they are both innovative and useful. But there is the problem of the learning curve with so many features. As we have just seen, Photoscape X website has a collection of over 60 quick video tips of 1-3 minutes describing Photoscape X’s key features. This is a very helpful resource. As well there are many good reviews and videos on Photoscape X with a consistent theme being that this is a simple, easy to use and one of the best free photo editors. This reviewer would argue that with its dozens of Edit, Adjustments, Effects, Color, Film, Frames, Filters, and Patterns – Photoscape X has well over 1000 features – this is not simple to master. But Photoscape makes up for this with its clever use of UI/UX layouts throughout the program. Just consider the Figure options:
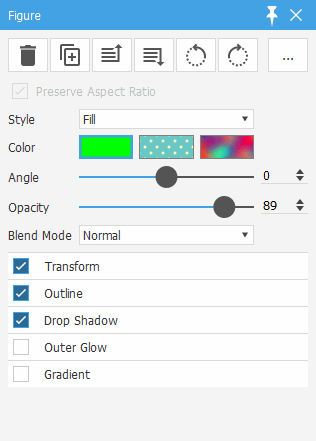
Like in the case of masking, the Photoscape X UI designers have done two things. First, they have hidden many of the stylings and options under a clickable command or icon. Thus for Color there is a Solid Fill, a Pattern Fill and then a Color Swab Fill. This same set of Color options with Angle, Opacity, and Blend Mode appear on every Sticker, Figure, Text, and Image insert/layer and any Adjustment or Effect needing a background color setting. Second adj Text, Image, S But the trick is all these different situations use the same choices and the consistency that lurk behind each of the options.
So across the top of the Figure popup are standard controls: Click the garbage can to delete the Figure; + duplicates the Figure slightly downset from the original but with identically the same properties; up-arrow stack moves the Figure up in the stack of layers on the image; down-arrow stack moves the
This consistency of design is repeated all over Photoscape X. For example the blue check marks indicate that a Transform, an Outline and a Drop Shadow have been applied to the Figure. But the details are hidden until users on the name of the setting [clicking on the checkmark removes its settings] So to see what Drop Shadow has been applied just click on the option and the Figure popup expands to show the Color, Distance, Blur and Angle options chosen for the Drop Shadow used on the Figure.
And Photoscape X provides a quick delete/exit strategy for every option. In this case to drop the Drop Shadow just click on the blue checkmark and the Drop Shadow is instantly removed. Click on the checkmark again and the Drop Shadow is restored with all the original settings intact. And Photoscape X is consistent throughout the program. This restoration of previous option choices applies to all of the settings. It is this UI interface consistency which makes Photoscape X easier to learn.
Consider the Color option for the Figure command – again PhotoScape X is consistent – there are 5 color settings:
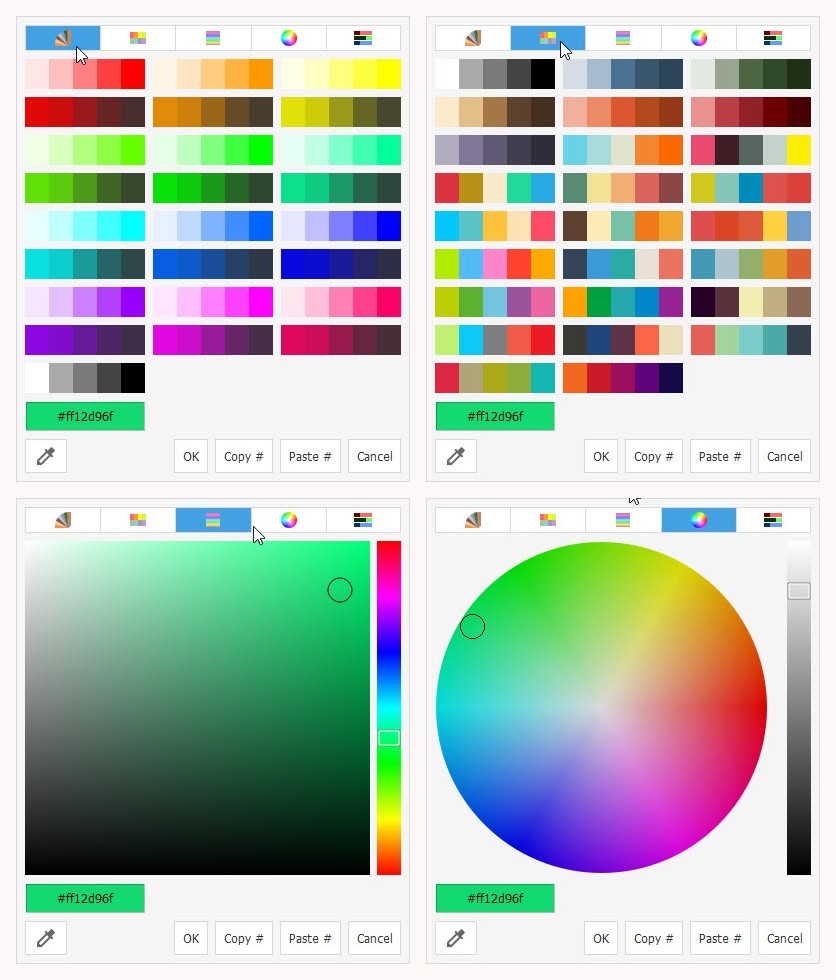
Photoscape offers 4 different color pickers plus an RGB slider for choosing your color fill. And as you choose among the color pickers, Photoscape X remembers and highlights your current color choice in the lower right corner is a dropper icon which can be used to sample a color from the image. What would be nice is to be able to add to the color swatches shown in the second color picker. But most important, this choice of color picker appears throughout Photoscape X.
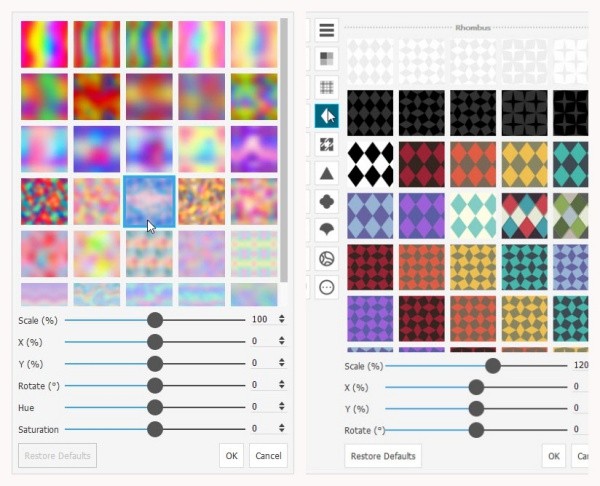
And the same consistency is applied to color swab and pattern options:
And Photoscape X retains its old features- here is a an example of the Combine command in action:
And the UI consistency can be seen here where the background color options work just the same as for the Figure, Sticker, Text and other color filling commands. However, the Collage command has some new options as seen here:
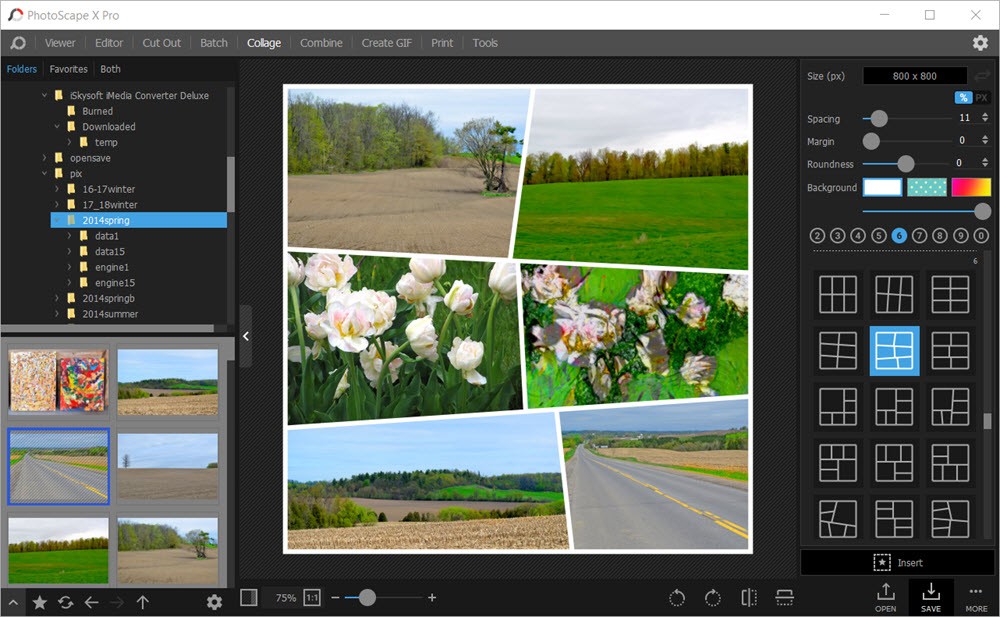
There are some new crazy quilt template for the collages along with the new background color options. In short, creating collages in Photoscape X will be an adventure.
The bottomline for learning Photoscape X is this – if you have any background in graphics and photo editing, Photoscape X will be a cinch to learn. If you are a newby to photo editing Photoscape’s rapid response time and consistency of its option settings will draw you into trying out its different features => the Color Swabs, Patterns, and Image Transforms – just to see what exciting things can be done with the program. Working with Photoscape X is simply a Graphic Design Adventure – and best of all, it is mostly free.
Photoscape X Is Mostly Free
The story is complicated. There is a PhotoScape X Pro which sells on Microsoft Store for $51.99CAD[$39US]. Having enjoyed Photoscape early edition and having only made one donation for all the services rendered over the past 6 years, it was a pleasure to pay for Photoscape X Pro and get all of the latest features.
The Pro version has extra added Frames, Stickers, Figures, Patterns, Color Swatches, and Swabs. In addition some of the newest Effects and Adjustments have added options. However, as noted above, the complication is twofold. First, what is Pro and what is free has changed over the past year. Second, if you have not bought through the Microsoft Store within the past 2 years, expect a 3 step process to enable the download of even the free version of Photoscape X
But the big point is that free Photoscape X has almost all of the features of Photoscape X Pro. And having just downloaded and tried the free version of Adobe Photoshop called Express, let me assure you that the free PhotoScape X absolutely dominates Adobe Photoshop Express in features, speed of operation and ease of use. In sum, Photoscape X has become not just the PC photo editor of choice but also photo viewer and all around Swiss Army Knife for Image handling.